**Introduction: Mastering Rapid Bulk Inventory Uploads on Amazon**
Time is money in the world of e-commerce, and if you’re looking to quickly expand your Amazon inventory, efficient bulk uploads are essential. In this article, we’ll provide you with a comprehensive guide, including actionable tips and strategies, on how to upload bulk inventory on Amazon in the shortest time possible.
**1. Prepare Your Inventory Data:**
– Organize your product data in a spreadsheet, including essential details like SKU, title, price, quantity, and product condition.
– Ensure that your data is accurate and follows Amazon’s format guidelines.
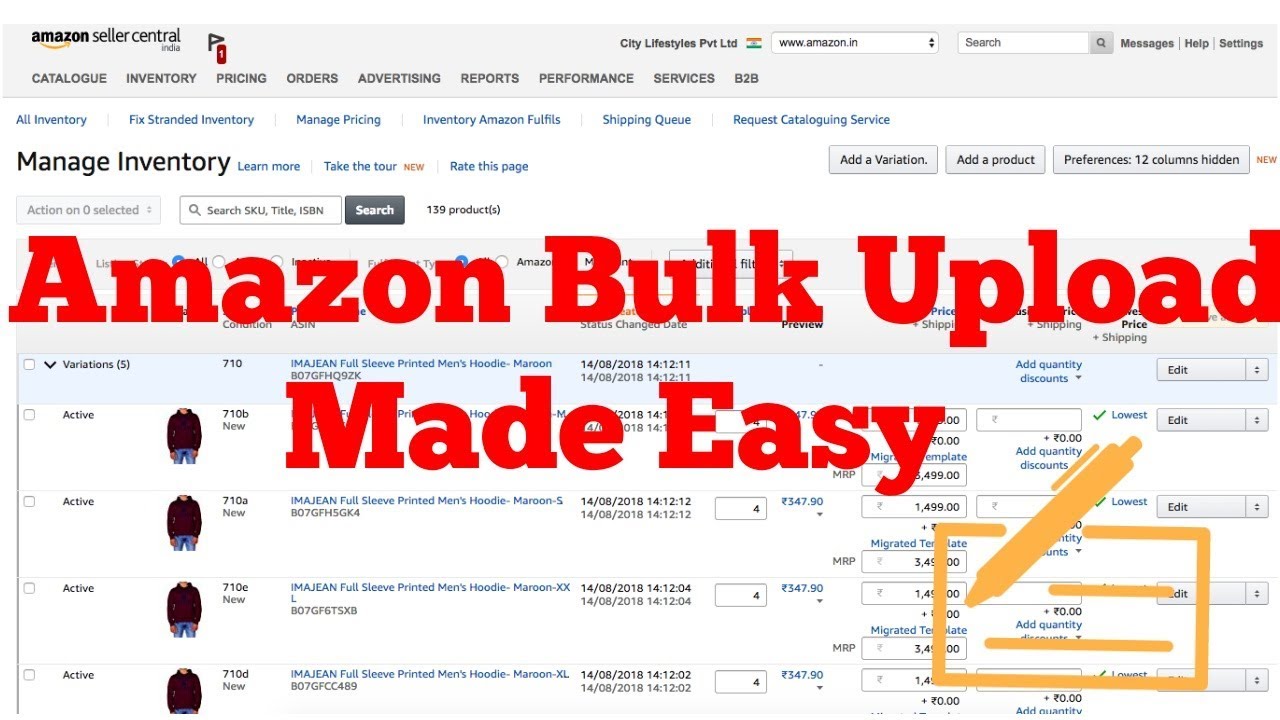
**2. Utilize Amazon’s ‘Add a Product’ Tool:**
– Log in to your Amazon Seller Central account and access the ‘Inventory’ tab.
– Select ‘Add a Product,’ then ‘Add Products via Upload’ to initiate the bulk upload process.
**3. Download Amazon’s Inventory File Template:**
– Download the Amazon-provided inventory file template.
– This template is designed to streamline bulk uploads and contains necessary fields for product details.
**4. Populate the Template Efficiently:**
– Use copy-and-paste functions to quickly transfer data from your prepared spreadsheet to the Amazon template.
– Be meticulous with accuracy and consistency in formatting.
**5. Include Standard Product Identifiers:**
– Ensure that your inventory includes standard product identifiers like UPC, EAN, or ISBN.
– Accurate identifiers help Amazon match your products to existing listings.
**6. Validate Your Data:**
– Use Amazon’s validation tool to check your inventory file for errors.
– Address any issues promptly to avoid upload delays.
**7. Save Your Inventory File:**
– Save your completed inventory file in the required format, such as .csv or .txt.
**8. Select ‘Upload Your Inventory File’:**
– Return to Seller Central and choose ‘Upload your inventory file.’
– Locate the saved inventory file on your computer and proceed with the upload.
**9. Monitor Upload Status:**
– Keep a close eye on the upload status in Seller Central.
– Amazon will notify you of any errors or issues that need attention.
**10. Automate the Process (Optional):**
– Consider using third-party software or tools that can automate bulk uploads.
– These solutions can save time and reduce the margin for human error.
**11. Optimize Product Listings Later:**
– Focus on efficient uploads first, and optimize product listings for keywords and descriptions afterward.
– Quick uploads can help you start selling sooner.
**12. Maintain a Checklist:**
– Create a checklist for your bulk upload process to ensure that you don’t miss any crucial steps.
– Streamlining the workflow can lead to faster uploads.
**13. Schedule Uploads During Low-Traffic Times:**
– Plan your bulk uploads during low-traffic times to minimize disruptions in case of issues.
– Late-night or early-morning uploads can be less hectic.
**14. Pre-Prepare for Success:**
– Before uploading, ensure that your inventory is properly packaged and labeled for Amazon’s fulfillment centers.
– This will expedite the process once products start selling.
**15. Stay Informed About Amazon Policies:**
– Keep up-to-date with Amazon’s policies and guidelines.
– Adhering to rules helps prevent potential issues that could delay your uploads.
**Conclusion: Accelerate Your Amazon Business Growth**
Efficient bulk inventory uploads are crucial for rapid expansion on Amazon. By following the steps and strategies outlined in this guide, you can dramatically reduce the time it takes to list multiple products, allowing you to focus on growing your business and maximizing your success in the competitive world of e-commerce. Keep optimizing your workflow and leveraging automation to continue accelerating your Amazon business growth.
